|
SatDump 2.0.0-alpha-03f92fa5d
|
|
SatDump 2.0.0-alpha-03f92fa5d
|
This page is designed to explain the basic operations and controls needed for basic tasks. Its aim is not to explain every single function in detail, but rather give a quick overview, both for new users as well as for users already experienced with legacy SatDump versions.
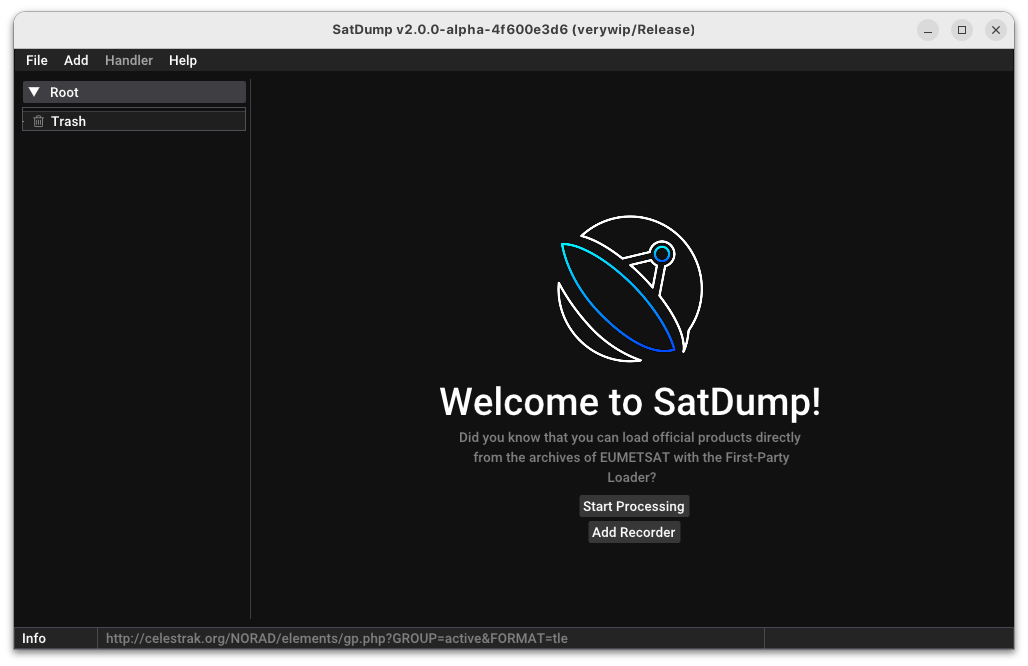
The Welcome screen provides a way to quickly access frequently used functions, as well as provide useful tips on how to best use the software. It is organized in several sections:
This provides controls to open files, add new tools, change settings and get help. Some menus, such as the Handler menu, are contextual and change depending on which item is selected in the Root.
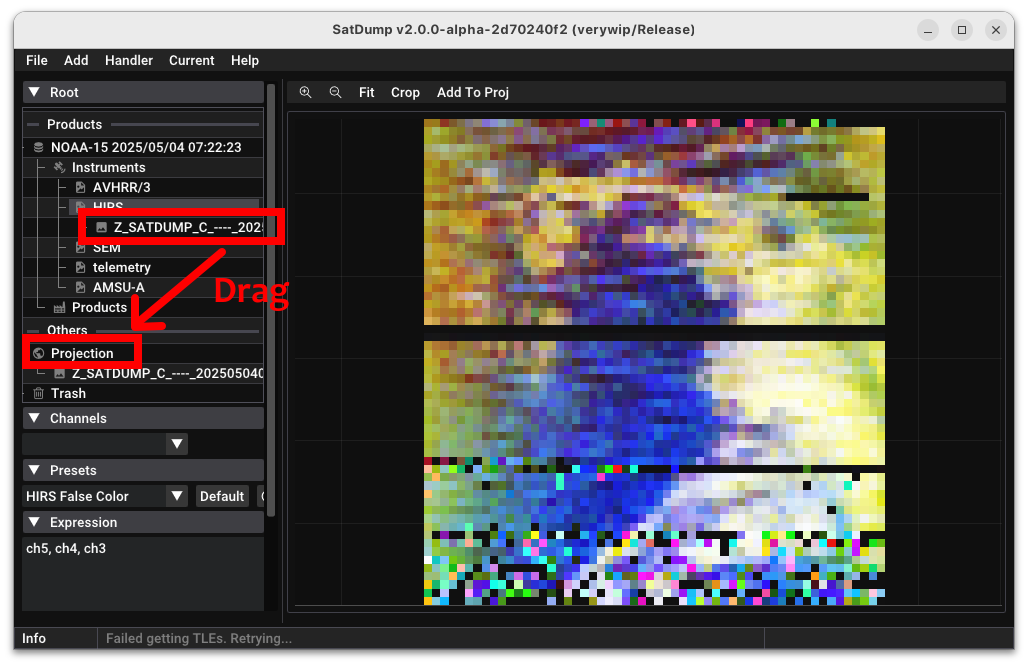
This section collects and organizes hierarchically all the modules, tools and data the user adds to the SatDump section.
Dragging any element from the Root and dropping it on the Trash will delete that element.
This button will open the Processing panel. This is the same as the old Offline Processing tab in legacy SatDump, and it is used to decode satellites from a baseband, frames or other prerecorded files.
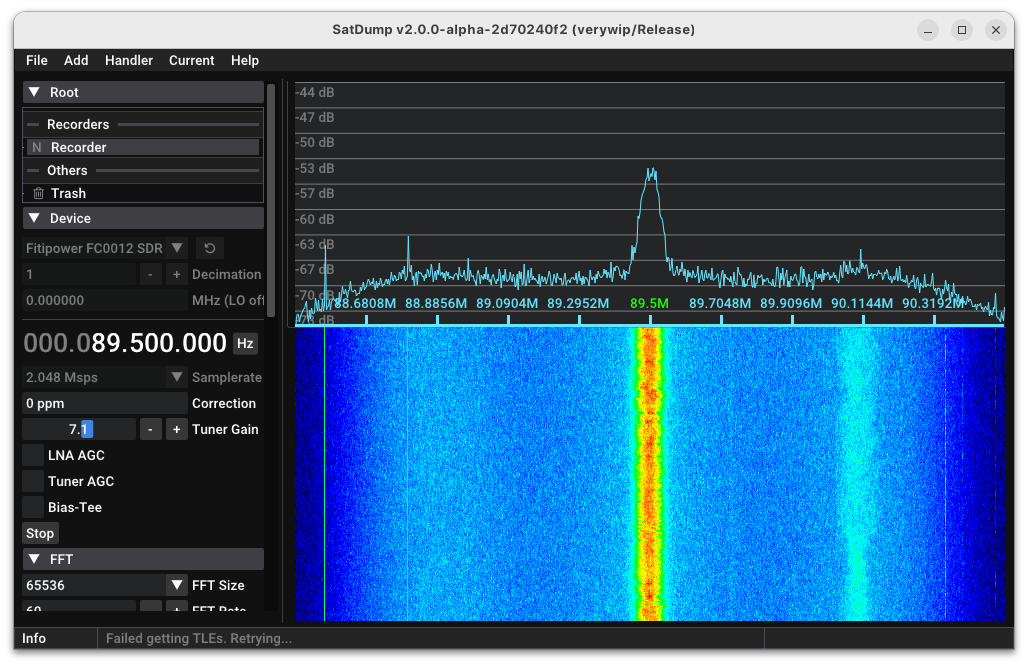
This button will add a new Recorder to the Root. It is the same as the old Recorder tab in legacy SatDump, and it is used to record new satellites from a software-defined radio, either directly connected to the computer or via the network. Tracking, live decoding and scheduling can all be controlled within the Recorder, like in legacy SatDump.
The Recorder is used to record new satellites from a software-defined radio, either directly connected to the computer or via the network. It is also possible to use the Live Decode feature to decode a satellite link live, without recording it first. Additionally, the Tracking and Scheduling features can be configured within the Recorder.
Compared to legacy SatDump, multiple Recorder items can be added and operated at once.
Choose and configure the SDR device here, including frequency, gain and other settings.
Used to configure the FFT and waterfall parameters, and to choose the waterfall palette.
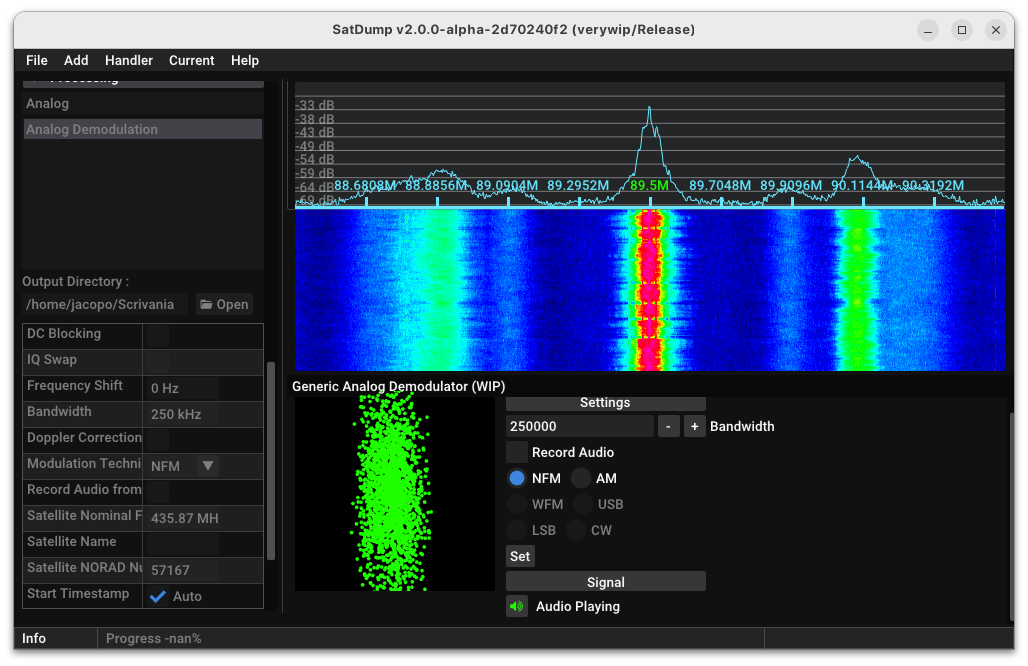
Select a satellite pipeline and start it there, to process the satellite link live. Settings for the pipeline, such as satellite parameters or output directory, can be chosen there as well.
This panel allows the recording of a baseband (can be used together with the Live Decode functionality).
This panel allows the tracking of satellites or NASA Horizons objects, and gives access to scheduling, rotator control and satellite finder functionality.
When Multi-mode is configured from the Schedule and Config window in the Tracking panel, VFOs in use will appear here.
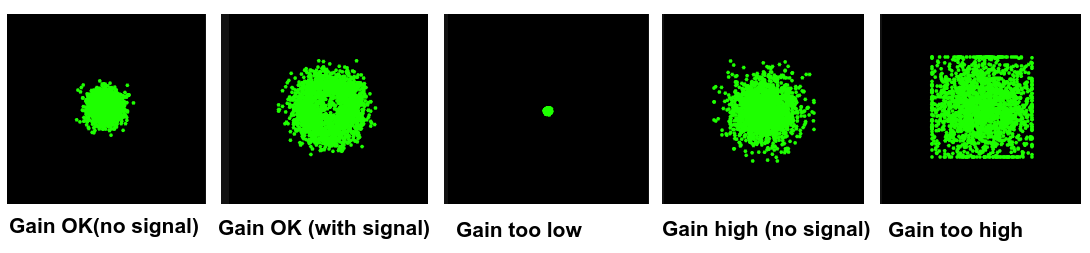
Shows a "magic-eye" constellation to help tune the gain, especially on X-band links.
With the Processing window, basebands, frames or other satellite data from a pre-existing recording can be decoded. This is identical to the Offline Processing tab in legacy SatDump.
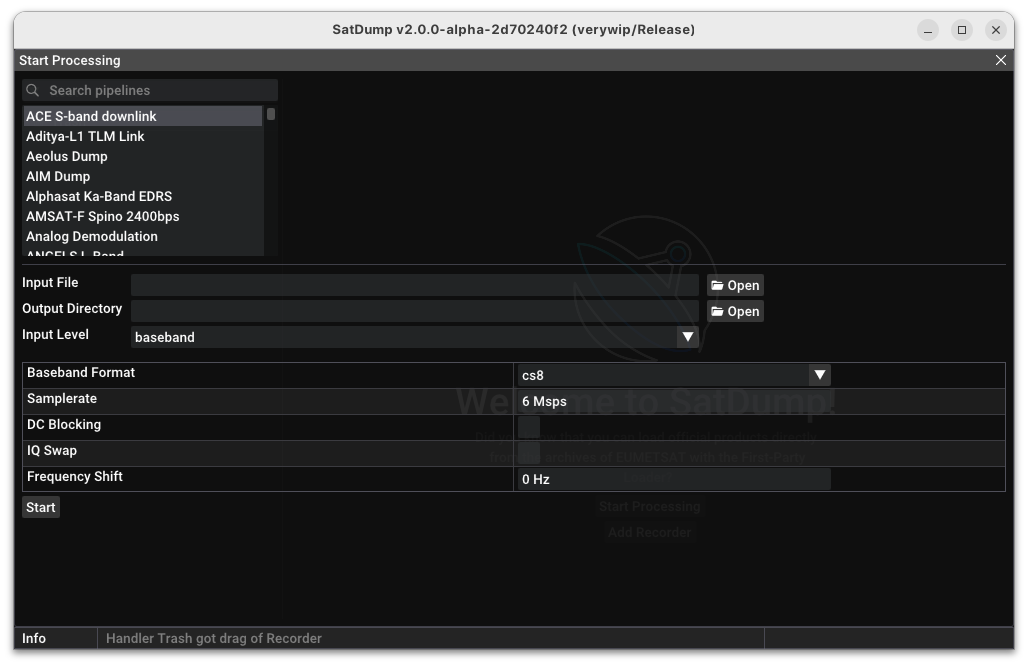
Once the necessary data is input and the process is started, the full-screen window will close and a new Processing item will be added to the Root.

While a satellite is decoding, the Processing window can be reopened and multiple satellites can be decoded at once.
Once decoded, satellite products are automatically added to the Root under the Products category. There, items are organized hierarchically.

Instruments from the satellite can be selected by clicking on them.
Depending on the type of instrument, there can be different views shown on the right pane.
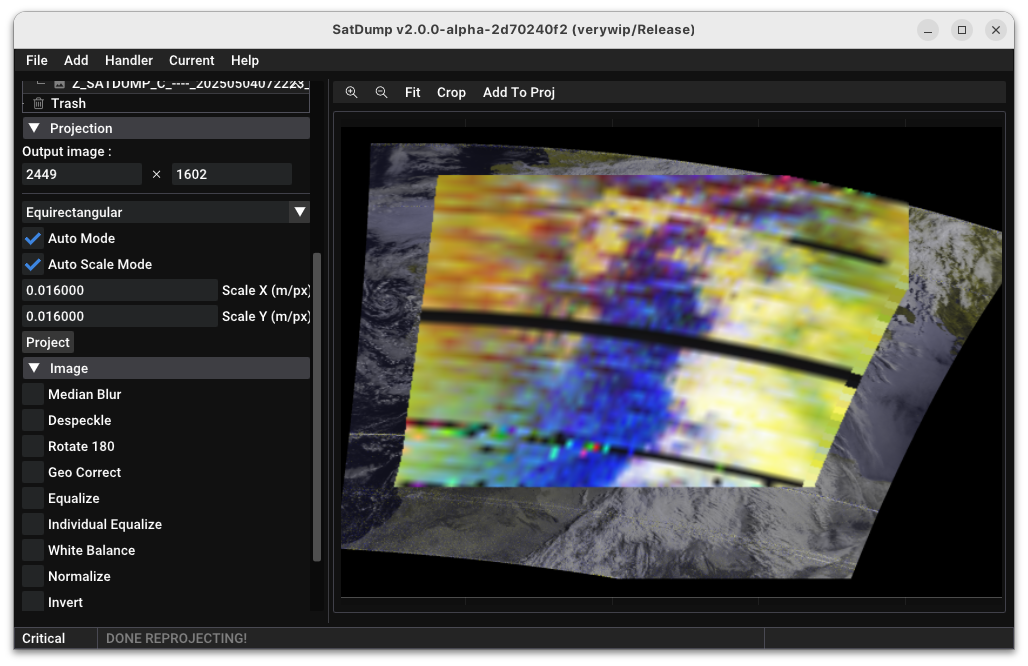
On imaging instruments, presets can be chosen with the Presets item and applied with the Apply button under the Expression item.
To save the current image, use Current -> Save Image in the Menu Bar.
To add overlays, such as country lines or cities, use Current -> Add Overlay and then click on Apply again.
Projections can be added either:

Clicking on the Projection item reveals settings for the projection. Usually, choosing Equirectangular and selecting both Auto Mode and Auto Scale Mode is enough to obtain a good projection.
Clicking on Project will project the image.

To project more than one instrument or satellite:
To access the Settings, use File -> Settings.